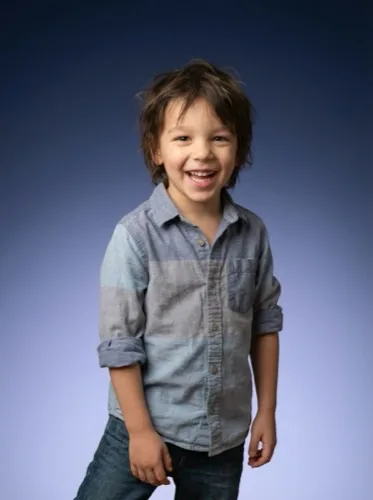
Best Lighting for Kid Photos at Home
Simple lighting setups that make portraits look professional without fancy gear.
SmilePlease Team
Editorial Team

Use a big window
The easiest light source is a large window. Stand your child facing the window, and keep the camera between the child and the window so the light falls evenly on the face.
Avoid direct sun
Direct sunlight creates harsh shadows. If the sun is bright, move a few feet back from the window or use a sheer curtain to soften the light.
Keep backgrounds simple
A clean background keeps focus on the face. A plain wall or curtain works well.
Eye level always wins
Hold the camera at eye level to avoid unflattering angles and distortion.
Take a few quick variations
Change your distance slightly and try two or three angles. Even small shifts can make a big difference.
← Previous
AI School Portraits Explained: What Actually Happens
Next →
Print vs Digital: Choosing Your School Portrait Package
Comments
No comments yet. Be the first to share your thoughts!
Leave a Comment
Related Articles
School Photo Day Prep: The Complete Parent Guide
A calm, step-by-step plan to get your child photo-ready without the morning chaos.
1 min read

Why Parents Choose At-Home School Portraits
The real-world reasons families prefer flexible, at-home portrait sessions.
1 min read
Why school photo package decisions can feel emotionally expensive
A child development perspective on pressure, identity, and smarter choices.
6 min read